This tutorial is going to be five minute long procedure which will show you how to add Google
Android development tools (ADT) plugin into your Eclipse IDE. This tutorial uses
Eclipse 3.3.2 europa that comes with
fedora 9 and
Android’s latest SDK version 1.1. You can download latest version of
Eclipse IDE from
here. and
Android ADT latest version from
here. Now to get the Android Plugin in your Eclipse follow these steps
Step 1
Start Eclipse, then select
Help >
Software Updates >
Find and Install..
Step 2
In the dialog that appears, select
Search for new features to install and click
Next.
Step 3
Click
New Remote Site.
Step 4
In the resulting dialog box, enter a name for the remote site (e.g. Android Plugin) and enter this as its URL:
https://dl-ssl.google.com/android/eclipse/
or
http://dl-ssl.google.com/android/eclipse/
Click
OK. You should now see the new site added to the search list (and checked). Click
Finish.
Step 5
In the subsequent Search Results dialog box, select the checkbox for
Android Plugin >
Developer Tools. This will check both features: “
Android Developer Tools“, and “
Android Editors“. The Android Editors feature is optional, but recommended. If you choose to install it, you need the WST plugin mentioned earlier in this page. Click
Next. Read the license agreement and then select
Accept terms of the license agreement. Click
Next. Click
Finish.
Step 6
The ADT plugin is not signed; you can accept the installation anyway by clicking
Install All. Restart Eclipse. You will need to download the android toolkit from
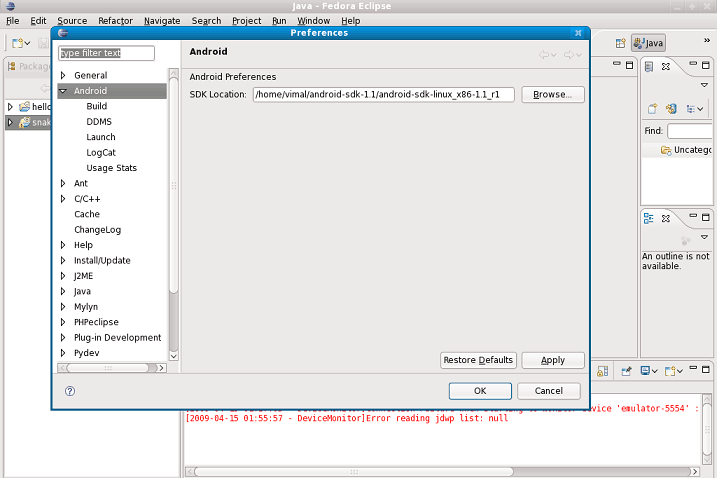
here. now configure your eclipse plugin from:Windows >> Preferencs >> Android, add the path of your unzipped Android Toolkit in the text box.
To see the results, do the following
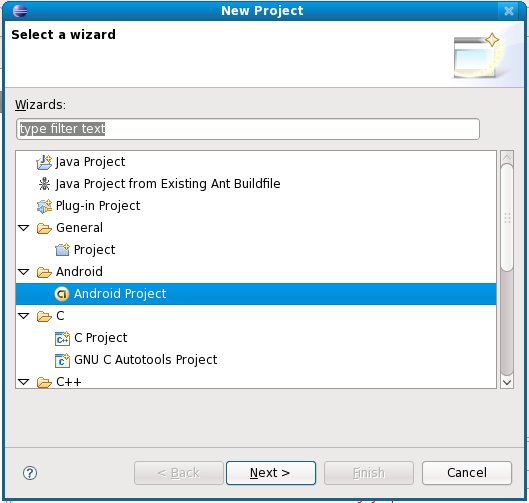
- Make a new project in eclipse from: File >> new >> project >> Android Project
- Click Next.
- Enter details like Project name and package name , etc… or select to make a project from available source code, lets select this option to make a project from the source that came with the SDK.
- Find a suitable application like snakes & make a project from that.
- The source will be accepted as is and you will not need to do any thing.
- Right click on the project, and goto Run as >> Android application.
Now enjoy the now world of androids :)
Related: Android 1.5 released: Preview SDK & feature list.
View Comments
Hi Patel, thanks for this. I helped me to get started!
how adt knows that emulator is now fully loaded and i can transfer application now for installation.
If you could do something you never did before would you? I mean writing
about Google Android ADT, SDK and Eclipse IDE integration on Linux.
is good but is it a safe subject considering your web pages is about android?
All things considered it is a great article however I
bet you could try branching into other subjects like electronic
cigarette best for example. Just an idea.
.. I hope you do not mind me expressing that.